







Preparation guide
Step 1
Protect the room
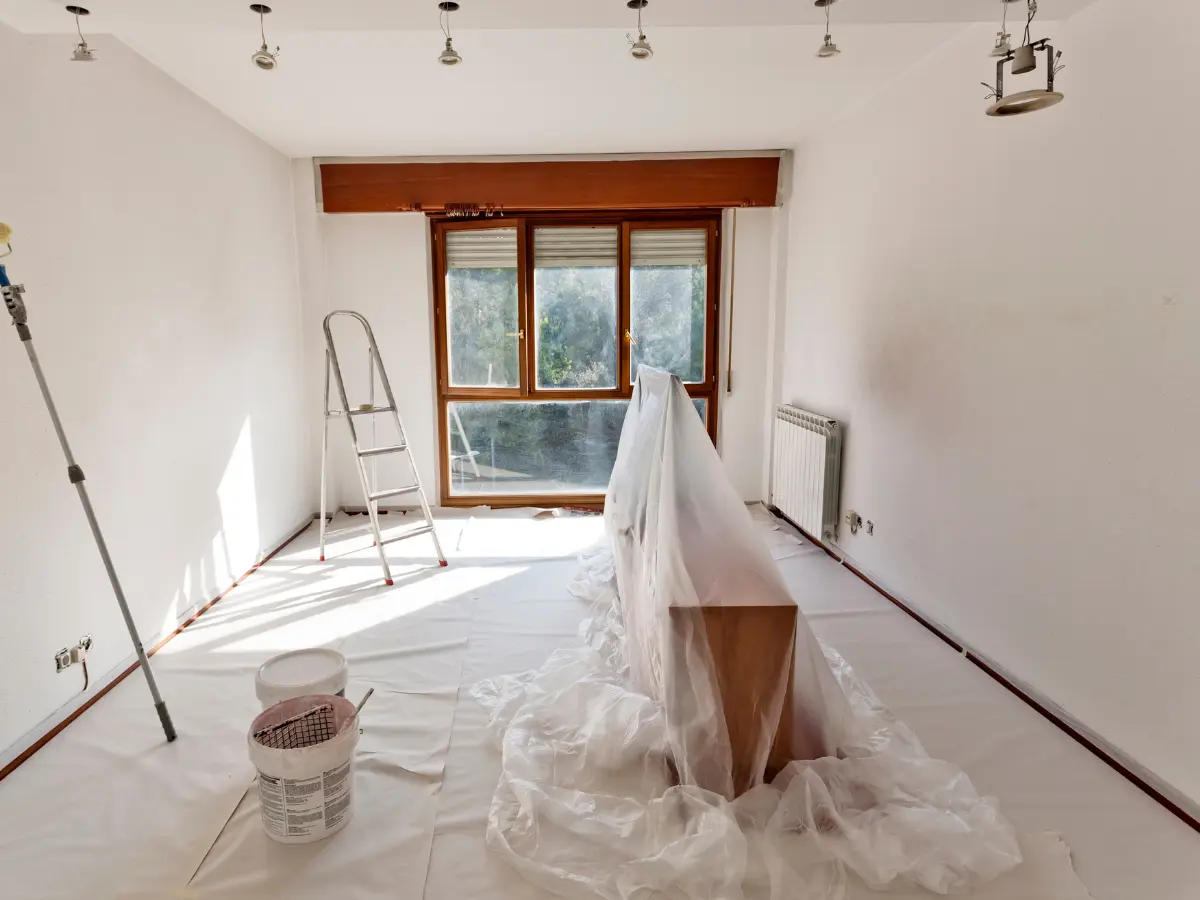
Before you get stuck into the prep, take a few minutes to get the room ready.
Move as much furniture out of the way as you can or gather it in the centre and cover it with dust sheets. Lay dust sheets over the floor and use masking tape to protect skirting boards, light switches, sockets and anywhere you want to keep paint-free.
A little bit of time now saves a lot of cleaning up later, trust us.
A HELPING HAND
Take a few photos of the room before you begin. They’re handy for putting furniture, pictures and decorations back exactly where you want them.
THE HEROES TECHNICAL TEAM
Step 2
Start with a clean surface
Before anything else, get your walls clean, dry and free from dust.
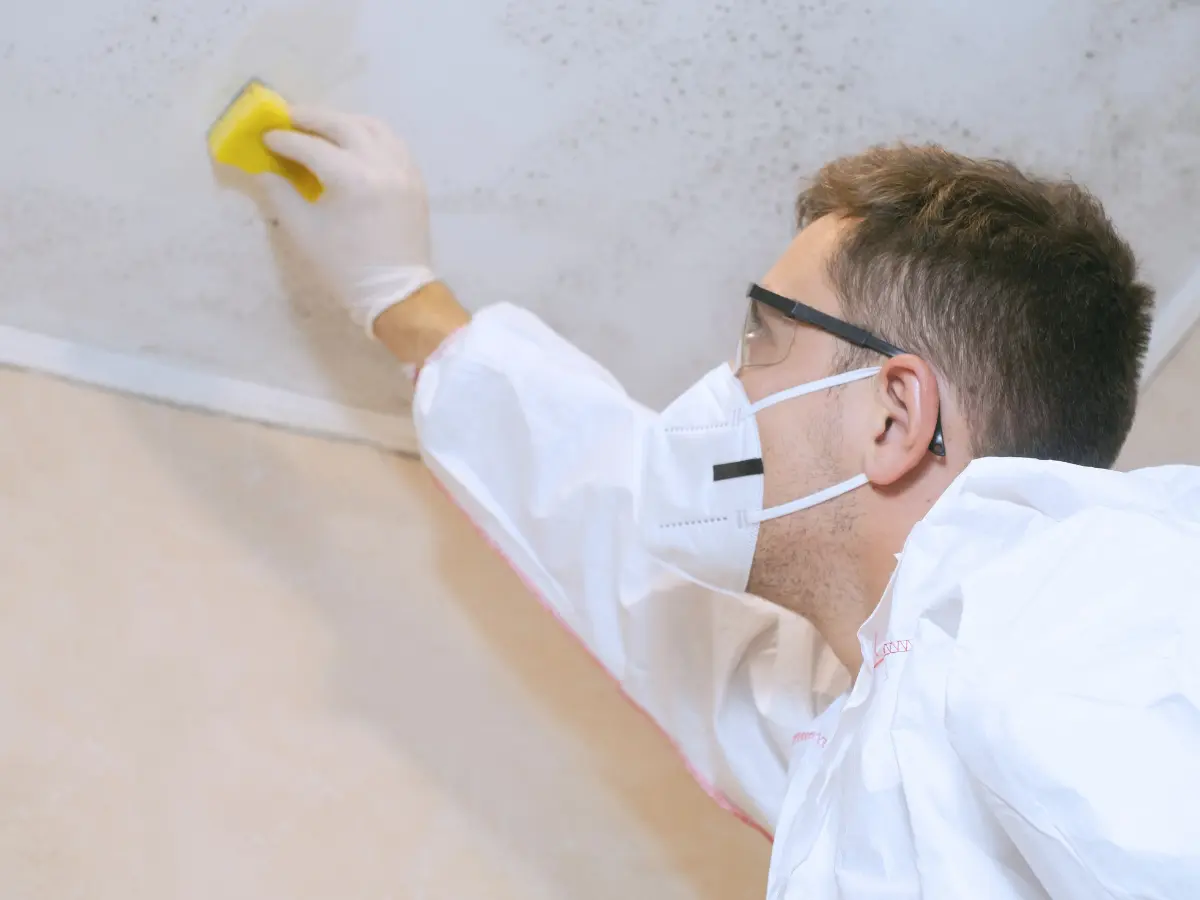
If your walls are previously painted, they can be freshened up with sugar soap or a suitable wall cleaner to get rid of dirt and grease. Once clean, make sure the surface is dry before moving on.
If you notice any mould on your walls or ceilings, it’s important to deal with it before decorating. Spray Heroes Mould Remover to the area from around 15–20 cm away and allow it to dry. Then just wipe away any remaining mould residue with a clean, damp cloth or sponge.
If any stubborn mould remains, just repeat the process again.
Step 3
Repair any imperfections
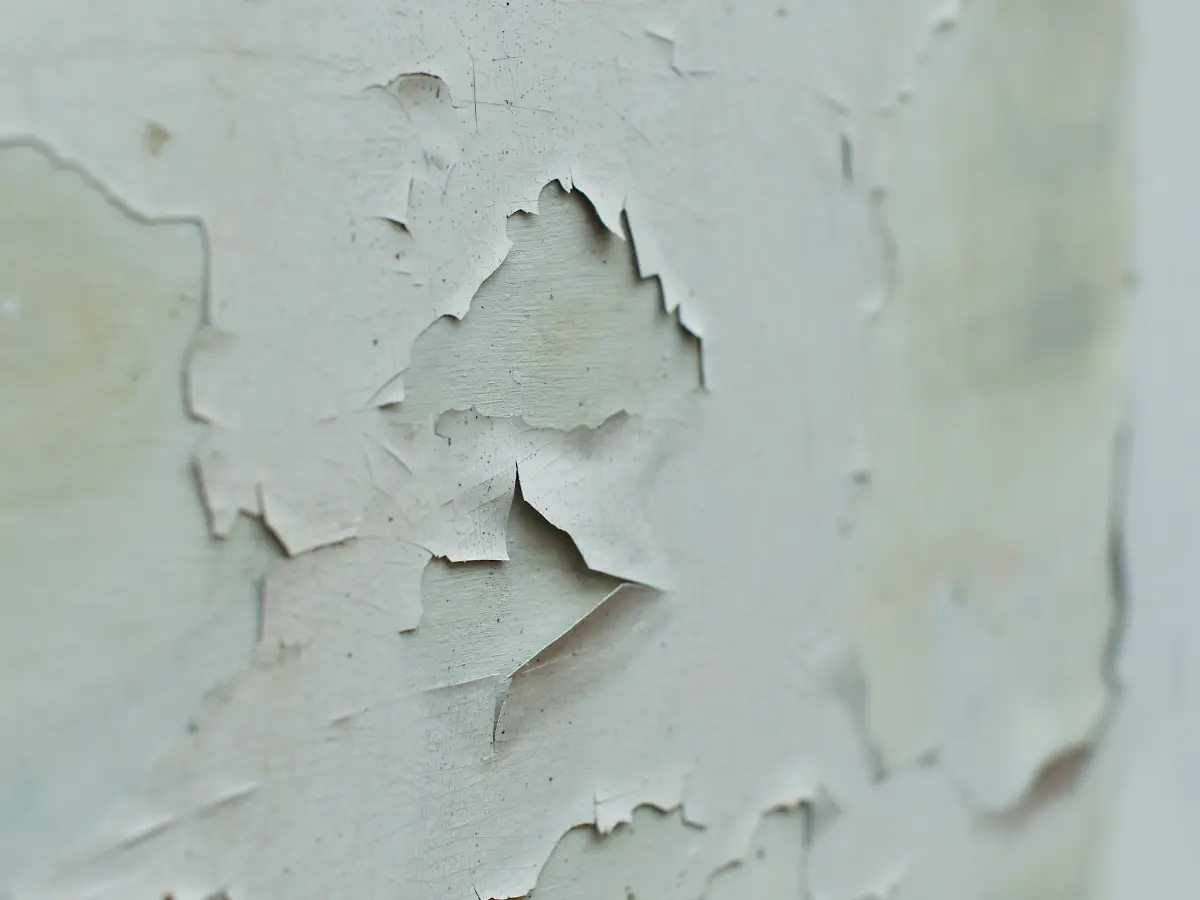
Extra care here can make all the difference to the finished result. Take a moment to check your walls for any cracks, holes, peeling or flaking paint or other imperfections that could affect the final finish.
Any loose or flaking paint should be carefully removed until you’re left with a sound, stable surface that’s ready to paint.
If you have any cracks, holes and damaged areas, now’s the time to fill them. Once the filler has dried, gently sand the area until smooth and level.
Before reaching for the paint, remove any dust with a vacuum cleaner, a soft brush or a damp cloth. You want to make sure nothing gets in between the wall and the coat of paint.
A HELPING HAND
Give filler enough time to dry before sanding. Rushing this step can leave repairs uneven and harder to blend into the surrounding wall.
Additional Prep
Some surfaces need some extra attention before painting. If you’re decorating over glossy or durable finishes such as vinyl silk or eggshell, a light sanding helps create a surface that the paint can grip more effectively.
Step 4
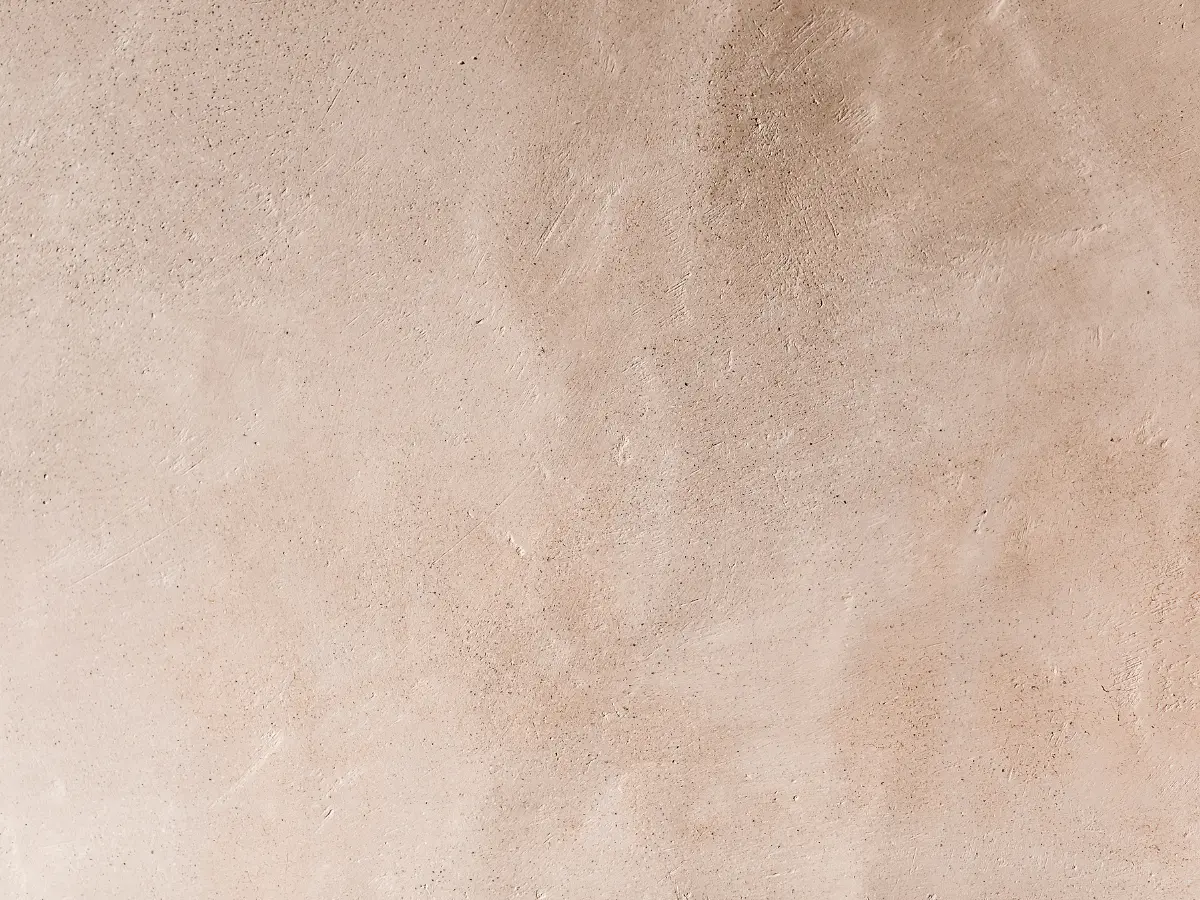
Get new plaster ready
Some surfaces need priming to achieve the right results. If you’re decorating onto bare plaster, it needs a little extra attention.
First of all, make sure it is completely dry before painting. Once it is dry, you need to apply a mist coat or contract emulsion to prep the new plaster for the paint to stick to.
With the surface clean, dry and prepped, you’re ready to follow our how to apply guides and get painting.
Preparation
Frequently asked questions
A fine-grit sandpaper, typically around 120–180 grit, is ideal for lightly sanding walls and previously painted surfaces. It gently removes minor imperfections and creates a surface that helps the paint stick better without causing unnecessary damage.
Ceilings should be cleaned, repaired and primed as well. Removing dust, repairing any cracks or peeling areas and priming bare plaster on the ceiling will help the paint bond properly, creating a smoother, more even finish.
Preparing your walls properly is the key to achieving the best possible results. Taking the time to clean, repair and prepare the surface helps the paint stick properly, creating better and longer lasting finish.
Fresh plaster should be a consistent light pink colour with no dark patches before you begin decorating. While it can be tempting to start painting sooner, applying paint before the plaster has fully dried can prevent it from bonding properly, leading to patchy coverage and a less durable finish.
Giving fresh plaster enough time to dry creates the perfect foundation for your paint, helping you achieve a smoother finish and long-lasting protection for the spaces that matter most.


